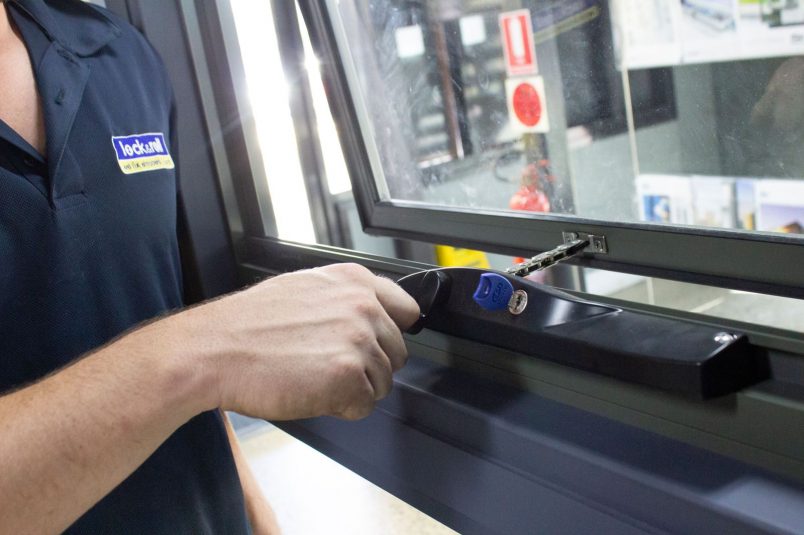
Welcome to Lock & Roll’s comprehensive guide on how to replace a window winder, designed to assist you in navigating the process with ease and efficiency. Before we dive into the repair process, if you’re experiencing minor issues and looking for quick fixes, you might find our how to fix a window winder blog page helpful.
This step-by-step manual aims to provide you with all the information you need for window winder repair, ensuring a smooth transition from old to new. Whether it’s a casement window winder repair or replacing winders on awning windows, we’ve got you covered.
What You Will Need
Before diving into the repair process, let’s ensure you have everything required at hand:
- New window chain winder
- Screwdriver set
- Drill and drill bits
- Paint scraper (if necessary)
- Bamboo BBQ skewers and wood glue (for hole preparation)
- Security plate (if included with your winder)
- Tape measure
Step 1: Remove the Old Winder
Start by carefully removing the fly screen, if present, to avoid any damage. Next, identify the screws holding your window winder in place. These are typically located on the faceplate of the winder. Using a screwdriver, loosen and remove these screws. If your window is painted shut, you might need a paint scraper to gently free the window before proceeding.
Step 2: Prepare the Space
Once the old winder is removed, prepare the space for the new installation. This might include cleaning the area and ensuring any old screw holes are filled if they won’t be reused. If the new holes are close to the old ones, fill them with wood glue and bamboo skewers cut to fit, creating a solid base for the new screws.
Step 3: Install the New Winder
Position your new window winder, ensuring it aligns with the window operation’s requirements. If your model comes with a security plate, mount it outside the window frame as directed by the manufacturer’s instructions. Drill pilot holes for the new screws, being careful not to penetrate deeper than necessary.
Attach the faceplate to the window, using the drill and screws provided. Ensure the faceplate is right side up, supporting the chain or mechanism correctly.
Step 4: Secure the Winder
With the faceplate in position, it’s time to secure the main unit of the window winder to the frame. Start by hand-tightening the screws to avoid overdriving them with a drill. Once the unit is secured, hook the window winder onto the faceplate and adjust until it sits flush against the window frame.
Step 5: Final Adjustments
After the window winder is installed, make any necessary adjustments to ensure smooth operation. This might include tightening or loosening screws for optimal performance. If your window winder comes with a lock, test it to confirm functionality.
Tips for a Successful Window Winder repair
- Measure twice, drill once: Ensuring accuracy in your measurements and pilot holes can prevent mishaps and ensure a snug fit for your new window winder.
- Keep it clean: Regular maintenance of your window winder can extend its lifespan and ensure it operates smoothly.
- Safety first: Always wear appropriate safety gear when using drills or other sharp tools.
Summary
Replacing a window winder, incorporating the correct winding mechanism and considering the types of windows involved, is a straightforward task with the right tools and knowledge. This guide is crafted to simplify the window winder repair process, facilitating professional results with minimal effort.
Regular maintenance and timely repair of faulty winders are essential for enhancing your windows’ functionality, contributing to the security and efficiency of your home.
Get Professional Assistance
Should you have any questions or need professional assistance with how to replace a window winder mechanism, don’t hesitate to contact Lock & Roll at 1800 203 377. Our expert team is dedicated to securing and enhancing your home.


